DIY Homemade Rivnut Tool

Rivnuts are great.  Except for the cost of the installation tool.

However, a DIY tool can be made pretty darn easily.


Here is what you need

  1. A bolt that fits your steel Rivnut that is about 2″ long
  2. A nut that fits the bolt.
  3. A piece of 1/8″ flatbar steel 1″ x 8″.

160224-IMG_20160224_185648_497

A little bit of prep work

  1. In the steel, drill a hole in the end the same size as the bolt.
  2. On the nut, grind or scratch a mark point

How to assemble it

  1. Drill the hole for the rivnut and insert it into the sheet metal.
  2. Put the nut on the bolt
  3. Place the piece of steel over the bolt
  4. Screw it into the assembly into the rivnut
  5. Snug it up so that the bolt is through the rivnut, then the nut snugs up the steel to the rivnut

160224-IMG_20160224_185742_848

How to tighten it all together

  1. Put a wrench on the bolt, hold it fixed with the steel.
  2. Put another wrench on the nut, start to tighten it
  3. Tighten the nut three revolution (using the mark point)

160224-IMG_20160224_185838_163

You are done!   Even with steel rivnuts, it does not take a lot of effort.


Sprinter Transmission Temp Sensor

Srpinter transmission temp cannot be read with a typical ODB tool, but can be read by tapping into a wire into the TCM and reading the voltage.

The TCM is located under the drivers seat.  On connector C2, tap into the Pin 34 which is the Grey wire with a blue stripe.  Put a volt meter on this wire, and another on ground and read the voltages.

Use the table below to translate the voltage to transmission temp.


sprinter TCM

TCM Transmission Connector

160221-IMG_20160221_115921_861

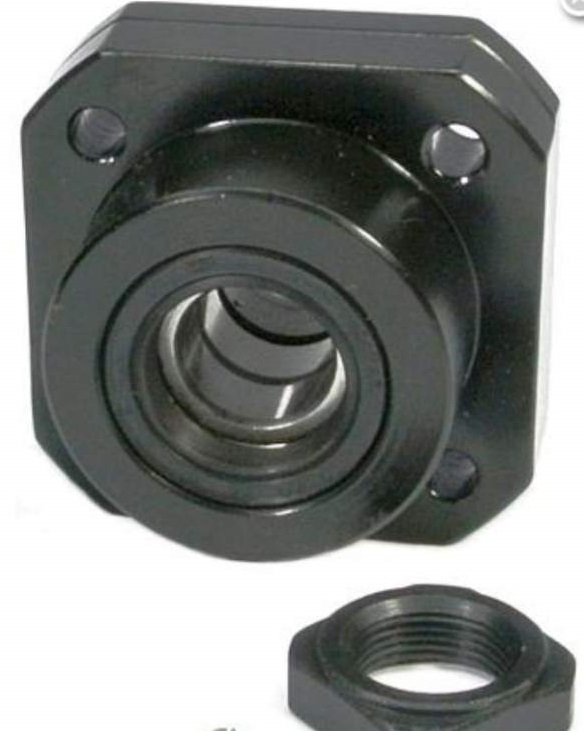
Chinese Ball Screw Bearing Mounts

Typical inexpensive Chinese products.  Good in some respects, a little poor in others.  When it comes to machinery often the component needs to be disassembled and adjusted.

The FK15 bearings I purchased for my RF45 Mill CNC are no different.

When I assembled the mill, I had too much backlash on the Y axis.  It took a while to find it, but I chased it down to the fixed end bearings.  After tearing down the assembly, I noticed a few things:

(1)  The angular contact bearings were mounted in tandem (both facing the same way).  This is no good for a lead screw because the lead screws on a CNC typically move two ways on a CNC.

(2) Lack of grease.  The bearings are oiled, but no grease.  This is *not* suitable for a CNC unless you have an oil line to these bearings (which I highly doubt)

(3) Unable to apply preload.  The AC bearings are stacked together, but unable to apply any preload because the inner and outer races are in contact with each other.  A shim is required on the outer races in order to apply preload.  I made a 0.025″ shims on the outer race and placed the bearing back to back.

Once I did the above, the fixed bearings worked fine.


fk152